

III. TLS by default
This tutorial focuses on adding TLS to all service-to-service HTTP calls. You will learn how to set up mutual TLS between two endpoints using Linkerd.
Encrypting all the things with protocol upgrades
In this tutorial, we’ll show you how to use Linkerd as a service mesh to add TLS to all service-to-service HTTP calls, without modifying any application code. Another benefit of the service mesh approach is that it allows you to decouple the application’s protocol from the protocol used on the wire. In other words, the application can speak one protocol, but the bytes that actually go out on the wire are in another.
In the case where no data transformation is required, Linkerd can use this decoupling to automatically do protocol upgrades. Examples of the sorts of protocol upgrades that Linkerd can do include HTTP/1.x to HTTP/2, thrift to thrift-mux, and (the topic of this tutorial) HTTP to HTTPS.
When Linkerd is deployed as a service mesh on Kubernetes, we
place a Linkerd instance on every host using DaemonSets.
For HTTP services, pods can send HTTP traffic to their host-local Linkerd by
using the http_proxy environment variable. (For non-HTTP traffic the
integration is slightly more complex.)
Step 0: Setup and Prerequisites
First, you’ll need a Kubernetes cluster and a functioning kubectl command on
your local machine. These following examples will assume you’re using either
GKE
or Minikube,
slight modifications may be needed for other environments—see our
Flavors of Kubernetes
help page for other environments.
If you’re running your clusters on GKE with Kubernetes v.1.6 or later, you’ll have to follow these additional steps:
You can check what Kubernetes version you are running with:
kubectl version --short
Note that the $USER environment variable should be the username of your Google Cloud account.
kubectl create clusterrolebinding cluster-admin-binding-$USER --clusterrole=cluster-admin
--user=$(gcloud config get-value account)

kubectl apply -f https://raw.githubusercontent.com/linkerd/linkerd-examples/master/k8s-daemonset/k8s/linkerd-rbac.yml
Your cluster should have at least 4 CPU’s available for this tutorial to work.
Install Linkerd
Install Linkerd using this Kubernetes config.
This will install Linkerd as a DaemonSet (i.e., one instance per host) running in the default Kubernetes namespace:
kubectl apply -f https://raw.githubusercontent.com/linkerd/linkerd-examples/master/k8s-daemonset/k8s/linkerd.yml
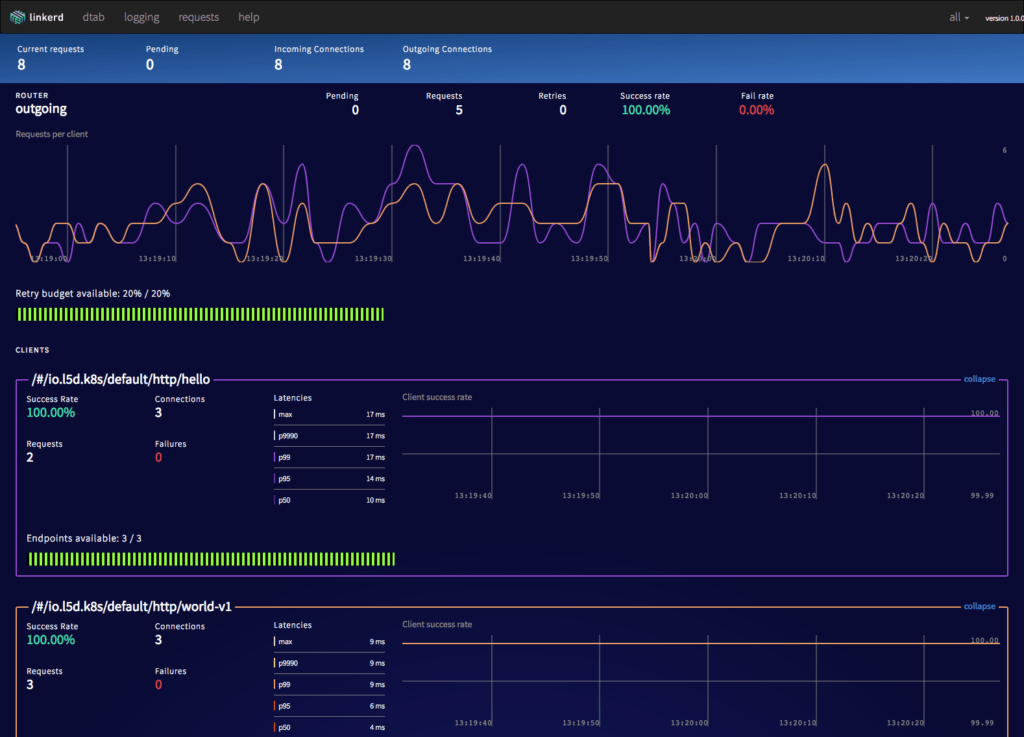
You can confirm that installation was successful by viewing Linkerd’s admin page:
Minikube
HOST_IP=$(kubectl get po -l app=l5d -o jsonpath="{.items[0].status.hostIP}")
NODE_PORT_ADMIN=$(kubectl get svc l5d -o 'jsonpath={.spec.ports[2].nodePort}')
open http://$HOST_IP:$NODE_PORT_ADMIN # on OS X
GKE
INGRESS_LB=$(kubectl get svc l5d -o jsonpath="{.status.loadBalancer.ingress[0].*}")
open http://$INGRESS_LB:9990 # on OS X
Install the sample apps
Install two services, “hello” and “world”, in the default namespace.
Minikube
kubectl apply -f https://raw.githubusercontent.com/linkerd/linkerd-examples/master/k8s-daemonset/k8s/hello-world-legacy.yml
GKE
kubectl apply -f https://raw.githubusercontent.com/linkerd/linkerd-examples/master/k8s-daemonset/k8s/hello-world.yml
These two services–“hello” and “world”–function together to make a highly scalable, “hello world” microservice (where the hello service, naturally, calls the world service to complete its request).
You can see this in action by sending traffic through Linkerd’s external IP:
Minikube
NODE_PORT=$(kubectl get svc l5d -o 'jsonpath={.spec.ports[0].nodePort}')
http_proxy=$HOST_IP:$NODE_PORT curl -s http://hello
GKE
http_proxy=$INGRESS_LB:4140 curl -s http://hello
You should see the string “Hello world”.
Linkerd with TLS
Now that Linkerd is installed, let’s use it to encrypt traffic. We’ll place TLS certificates on each of the hosts, and configure Linkerd to use those certificates for TLS.
We’ll use a global certificate (the mesh certificate) that we generate ourselves. Since this certificate is not tied to a public DNS name, we don’t need to use a service like Let’s Encrypt. We can instead generate our own CA certificate and use that to sign our mesh certificate (“self-signing”). We’ll distribute three things to each Kubernetes host: the CA certificate, the mesh key, and the mesh certificate.
The next step in this tutorial uses sample certificates that we’ve generated. Please don’t use these certificates in production. For instructions on how to generate your own self-signed certificates, see our blog post, where we have instructions on how to generate your own certificates).
Step 1: Deploy certificates and config changes to Kubernetes
We’re ready to update Linkerd to encrypt traffic. We will distribute the sample certificates as Kubernetes secrets.
kubectl apply -f https://raw.githubusercontent.com/linkerd/linkerd-examples/master/k8s-daemonset/k8s/certificates.yml
Now we will configure Linkerd to use these certificates by giving it this configuration and restarting it:
kubectl delete ds/l5d configmap/l5d-config
kubectl apply -f https://raw.githubusercontent.com/linkerd/linkerd-examples/master/k8s-daemonset/k8s/linkerd-tls.yml
STEP 2: SUCCESS
At this point, Linkerd should be transparently wrapping all communication between these services in TLS. Let’s verify this by running the same command as before:
Minikube
http_proxy=$HOST_IP:$(kubectl get svc l5d -o 'jsonpath={.spec.ports[0].nodePort}') curl -s http://hello
GKE
http_proxy=$INGRESS_LB:4140 curl -s http://hello
If all is well, you should still see the string “Hello world”—but under the hood, communication between the hello and world services is being encrypted. We can verify this by making an HTTPS request directly to port 4141, where Linkerd is listening for requests from other Linkerd instances:
Minikube
NODE_PORT_INCOMING=$(kubectl get svc l5d -o 'jsonpath={.spec.ports[1].nodePort}')
curl -skH 'l5d-dtab: /svc=>/#/io.l5d.k8s/default/admin/l5d;' https://$HOST_IP:$NODE_PORT_INCOMING/admin/ping
GKE
curl -skH 'l5d-dtab: /svc=>/#/io.l5d.k8s/default/admin/l5d;' https://$INGRESS_LB:4141/admin/ping
Here we’re asking curl to make an HTTPS call, and telling it to skip TLS validation (since curl is expecting a website, not Linkerd). We’re also adding a dtab override to route the request to the Linkerd instance’s own admin interface. If all is well, you should again see a successful “pong” response. Congratulations! You’ve encrypted your cross-service traffic.
Conclusion
In this tutorial, we’ve shown how a service mesh like Linkerd can be used to to transparently encrypt all cross-node communication in a Kubernetes cluster. We’re also using TLS to ensure that Linkerd instances can verify that they’re talking to other Linkerd instances, preventing man-in-the-middle attacks (and misconfiguration!). Of course, the application remains blissfully unaware of any of these changes.
TLS is a complex topic and we’ve glossed over some important security considerations for the purposes of making the demo easy and quick. Please make sure you spend time to fully understand the steps involved before you try this on your production cluster.
Finally, adding TLS to the communications substrate is just one of many things that can be accomplished with a service mesh. Be sure to check out the rest of the articles in this series for more!
For help with this or anything else about Linkerd, feel free to stop by our Linkerd community Slack, post a topic on Linkerd discourse, or contact us directly!