

Running in DC/OS
This guide will walk you through getting Linkerd running in DC/OS, routing requests to an example web service, and monitoring your cluster.
Deploy the webapp
We are going to deploy a sample app that responds with “Hello world”. We’ll use a webapp.json config file from the linkerd-examples repo:
dcos marathon app add https://raw.githubusercontent.com/linkerd/linkerd-examples/master/dcos/webapp.json
Deploy Linkerd
Install the Linkerd DC/OS Universe package with the following command, note
instances should match the total number of nodes in your DC/OS cluster, both
public and private:
dcos package install --options=<(echo '{"linkerd":{"instances":4}}') linkerd
Note that Linkerd boots two servers, outgoing on port 4140, and incoming
on 4141. Your applications make an outgoing request to their local Linkerd on
port 4140, which routes the request to a separate Linkerd process running on a
remote node on port 4141. The Linkerd on the remote node accepts the incoming
request and routes it to your local application instance.
Making sure it works
The Linkerd DC/OS Universe package comes preconfigured to route traffic as an
HTTP proxy. By default, it accepts all traffic on port 4140 from your
applications. Virtually all http tools and client libraries support this. curl
checks for an http_proxy environment variable:
$ http_proxy=$PUBLIC_NODE:4140 curl -s http://webapp/hello
Hello world
Finally, to reach the admin service, make a request on port 9990:
$ curl $PUBLIC_NODE:9990/admin/ping
pong
Application groups
For applications deployed as part of a group, reverse the group/app name into a
domain. For example, my-group/webapp becomes webapp.my-group:
$ http_proxy=$PUBLIC_NODE:4140 curl webapp.my-group/hello
Hello world
Deploying a custom Linkerd
You can also install your own custom version of Linkerd, for example:
dcos marathon app add https://raw.githubusercontent.com/linkerd/linkerd-examples/master/dcos/linker-to-linker/linkerd-dcos.json
This custom version has a Linkerd config file embedded in its command as string-encoded json, a more human readable version is in the linkerd-examples repo as linkerd-config.yml.
To modify a Linkerd config, do the following:
-
Edit
linkerd-config.yml -
Convert to JSON using something like http://json2yaml.com
-
Remove all line breaks and escape quotes:
cat linkerd-config.json |tr -d '\n '|sed 's/"/\\\\\\\"/g' -
Replace the inner contents of
linkerd-dcos.json’scmdfield with the output.
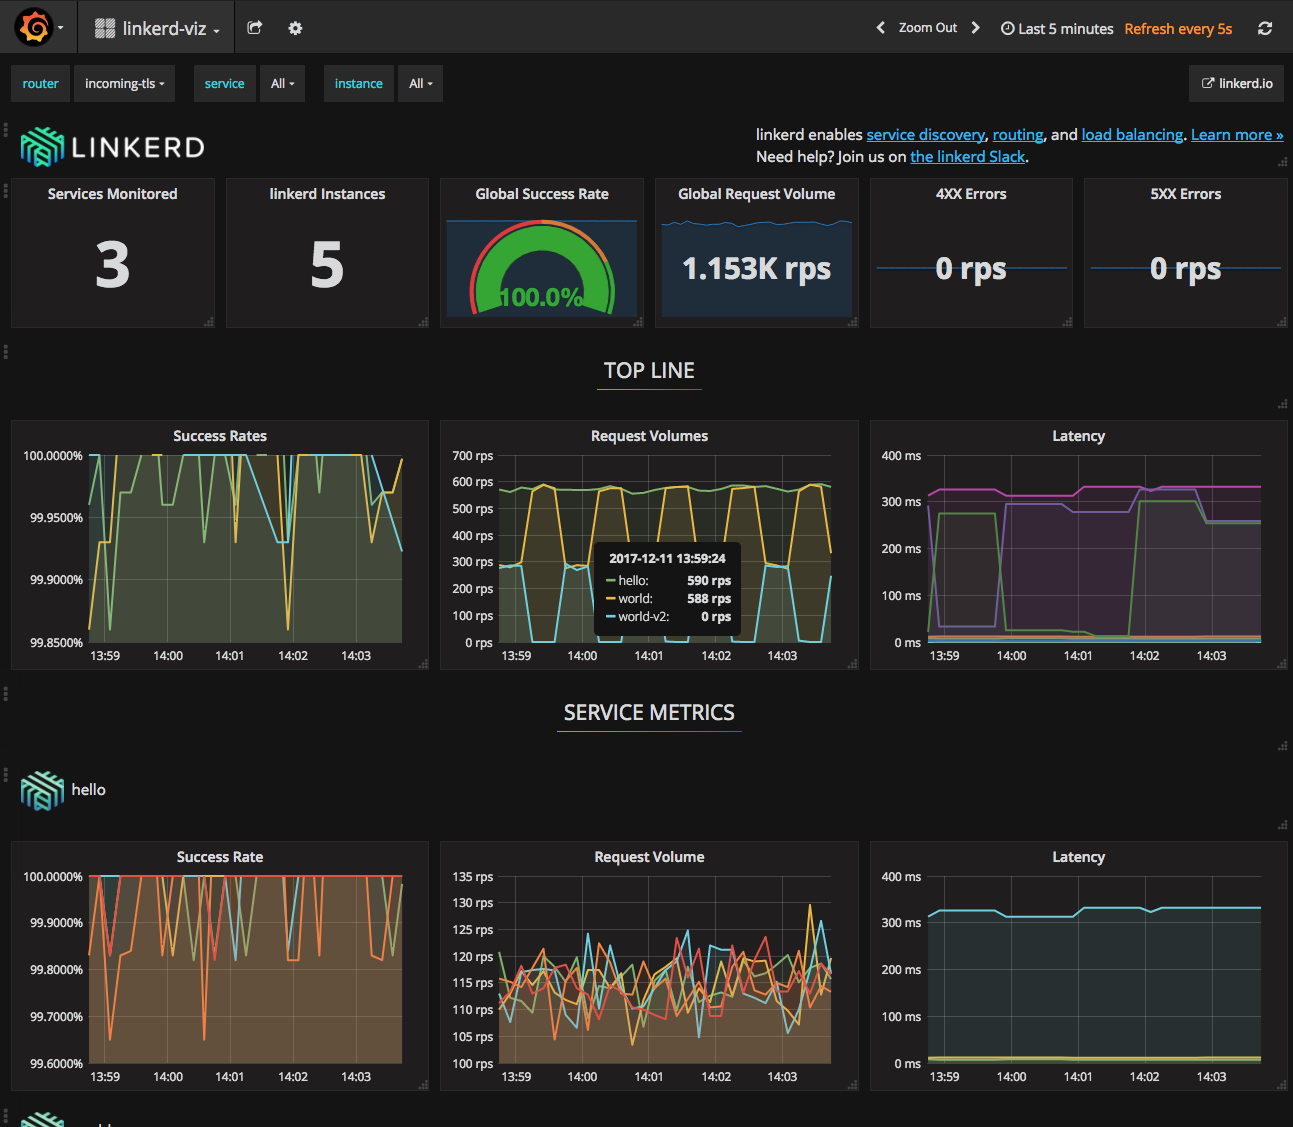
Deploying linkerd-viz
linkerd-viz is a monitoring application for applications routing via Linkerd. Deploy as a DC/OS Universe package with:
dcos package install linkerd-viz
View the dashboard:
open $(dcos config show core.dcos_url)/service/linkerd-viz
Alternatively, install a custom version with:
dcos marathon app add https://raw.githubusercontent.com/linkerd/linkerd-viz/master/dcos/linkerd-viz.json
open $PUBLIC_NODE:3000
That’s it! You now have a dynamically routed and monitored DC/OS cluster.
linker-to-linker vs. simple-proxy configuration
The guide above described setting up a cluster in linker-to-linker mode, where
each Linkerd runs an incoming and outgoing server. This is the default
configuration in the Linkerd DC/OS Universe package, and it provides the
necessary topology to support linkerd-viz. If you are interested in a more
simplistic http proxy configuration, have a look at the
simple-proxy
example in the linkerd-examples repo.
Further reading
For more information about configuring Linkerd, see the Linkerd Configuration page.
For more information about linkerd-viz, see the linkerd-viz GitHub repo.